Machine Measures Sliding Cam Components Automatically
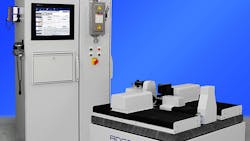
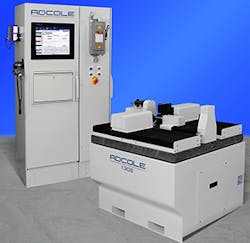
ADCOLE CORP. introduced a new camshaft gage that features two, independent, opposed measuring heads to measure critical parameters, including cam lobe chatter and straightness.
With increased demand for efficiency and higher performance in engines, the level of precision necessary in critical engine parts (like crankshafts, camshafts and pistons) is increasing, too. The Adcole 1302 Dual Head Camshaft Gage features two independent opposed Heidenhain sidewall measuring heads with ±10-mm travel for measuring sliding cam components with sub-micron accuracy.
Suitable for segments up to 300 mm, this cylindrical coordinate measuring machine measures 24 parameters including cam lobe chatter, straightness, camtrack sidewall and groove bottom geometries, and more.
Designed for robotic or manual loading, for inline and audit applications, the Adcole 1302 Dual Head Camshaft Gage can measure up to six components. Measuring 3,600 data points per revolution (every 1/10th of a degree), it has an easy-to-use touch-screen interface, offers diagnostic routines and part identification capabilities, along with online or offline Windows® programming.
Learn more at www.adcole.com

